New to Heat Pressing? Here's the Best Design Software to Get Started
Getting into heat pressing is exciting, and pretty straightforward once you know the basics. You need a heat press, you need transfers, and you need designs to press. The first two are easy enough to figure out. The design piece is where most people get stuck.
The good news is you don't need to be a graphic designer or spend a lot of money to create great designs for heat transfers. The three tools in this guide are all beginner-friendly, widely used, and capable of producing results you'll be proud of pressing onto a garment.
Here's how they compare, and a few things to know before you send your first file to print.
What Supacolour needs from your file
You don't need to get your file perfect before you order. Supacolour's team reviews every file before it goes to print and will let you know if something needs fixing. But understanding a few basics will save you time and get you better results from the start.
Your background needs to be transparent, not white. If your design file has a white background, that white box will print as part of your transfer and appear on the garment. Your background needs to be transparent so only your design gets pressed. Most design tools let you turn off the background layer before exporting. If you have a logo or image without a transparent background, there is a background remover button directly underneath the artwork uploader on every Supacolour product page. Use it before placing your order.
Your file needs to be high quality. Think of it like a photo: a high quality image looks sharp and crisp when printed, a low quality one looks blurry and pixelated. For tools like Canva and Kittl, exporting as PDF Print gives Supacolour the best quality to work with. For Procreate, you set the quality yourself when you create your canvas. More on that in the Procreate section below.
Colours display differently on screen vs in print. Your screen uses a colour system called RGB. Printers use a different system called CMYK. These two don't cover exactly the same range of colours, which means very bright or neon shades can look slightly different in print compared to your screen. Most of the tools below let you switch to CMYK mode and it's worth doing when you can.
Keep your artwork solid and opaque. Effects like drop shadows, glows, and soft fades are popular in design tools and look great on screen, but they can print differently than expected and often come out muddy or softer than intended. Where possible, keep your design elements fully opaque with clean, hard edges. A solid hard-edged version will always print more reliably than a soft transparent one.
Not sure if your file is ready? Download Supacolour's full art specs and size templates.
Kittl: built for merch design from the ground up
Free plan available. Paid plans from USD $15/month.
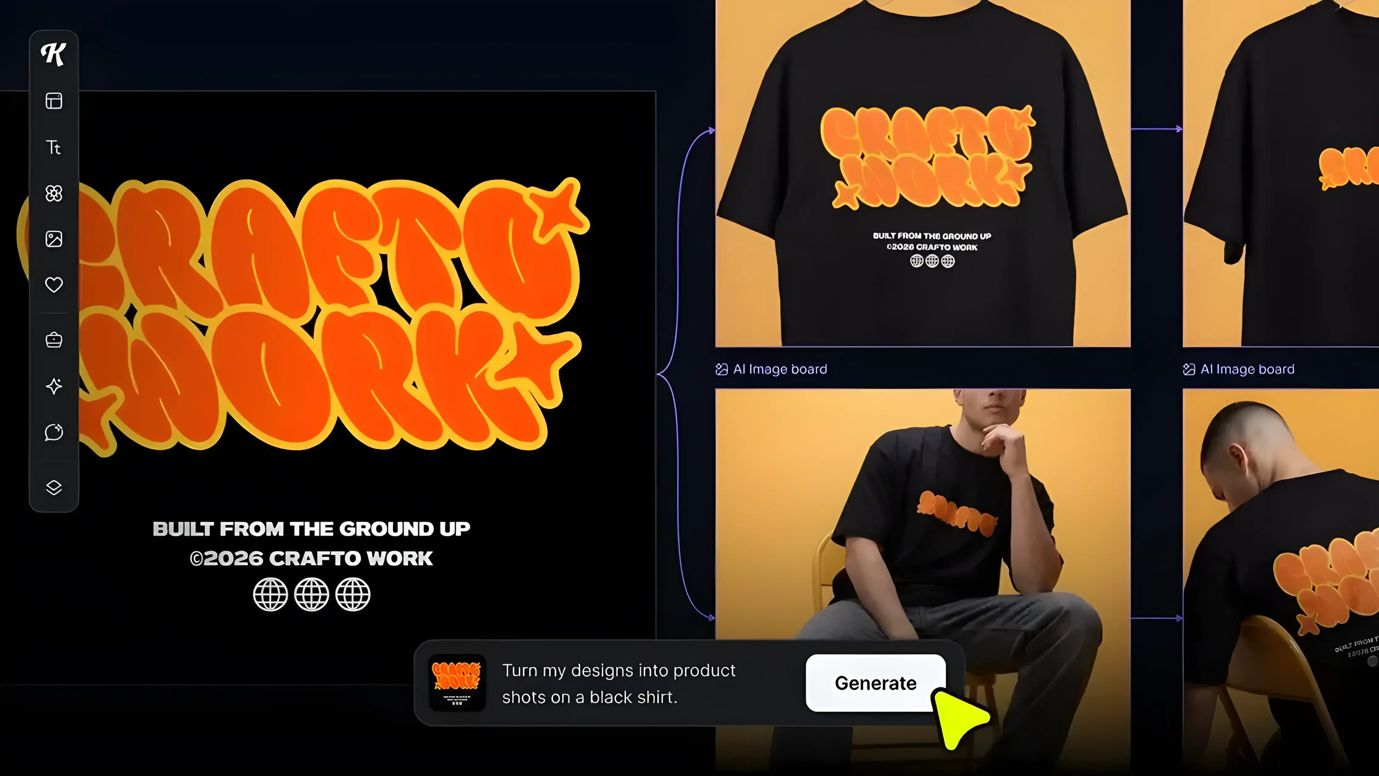
If you're getting into heat pressing to make custom apparel and merch, Kittl is one of the best places to start. It was built specifically for this kind of work, which means the templates, effects, and export options are all set up for exactly what you're doing.
It's browser-based with nothing to download, works on any computer, and you can go from a blank canvas to a finished merch graphic in minutes. Where Kittl really stands out is text and typography: vintage lettering, 3D text effects, retro styles, and AI-generated artwork are all built in and easy to use without any design background.
For Supacolour specifically, Kittl exports as PDF or SVG, both ideal formats that keep your design sharp at any print size.
The free plan is a solid starting point, but it has restrictions on commercial licensing, meaning you might not be able to legally sell products made with free plan assets. If you're planning to sell your designs, check that the elements you've used are cleared for commercial use, or upgrade to a paid plan. Kittl also works in RGB rather than CMYK natively, so very bright colours may shift slightly between screen and print.
Supacolour tip: Export as PDF (Print Quality). If you're selling the finished product, double check the licensing on any Kittl elements you've used. Avoid very bright neons unless you're happy with some colour variation between screen and print.
Canva: the most accessible starting point
Free plan available. Canva Pro is a paid monthly or annual subscription — check canva.com for current pricing.
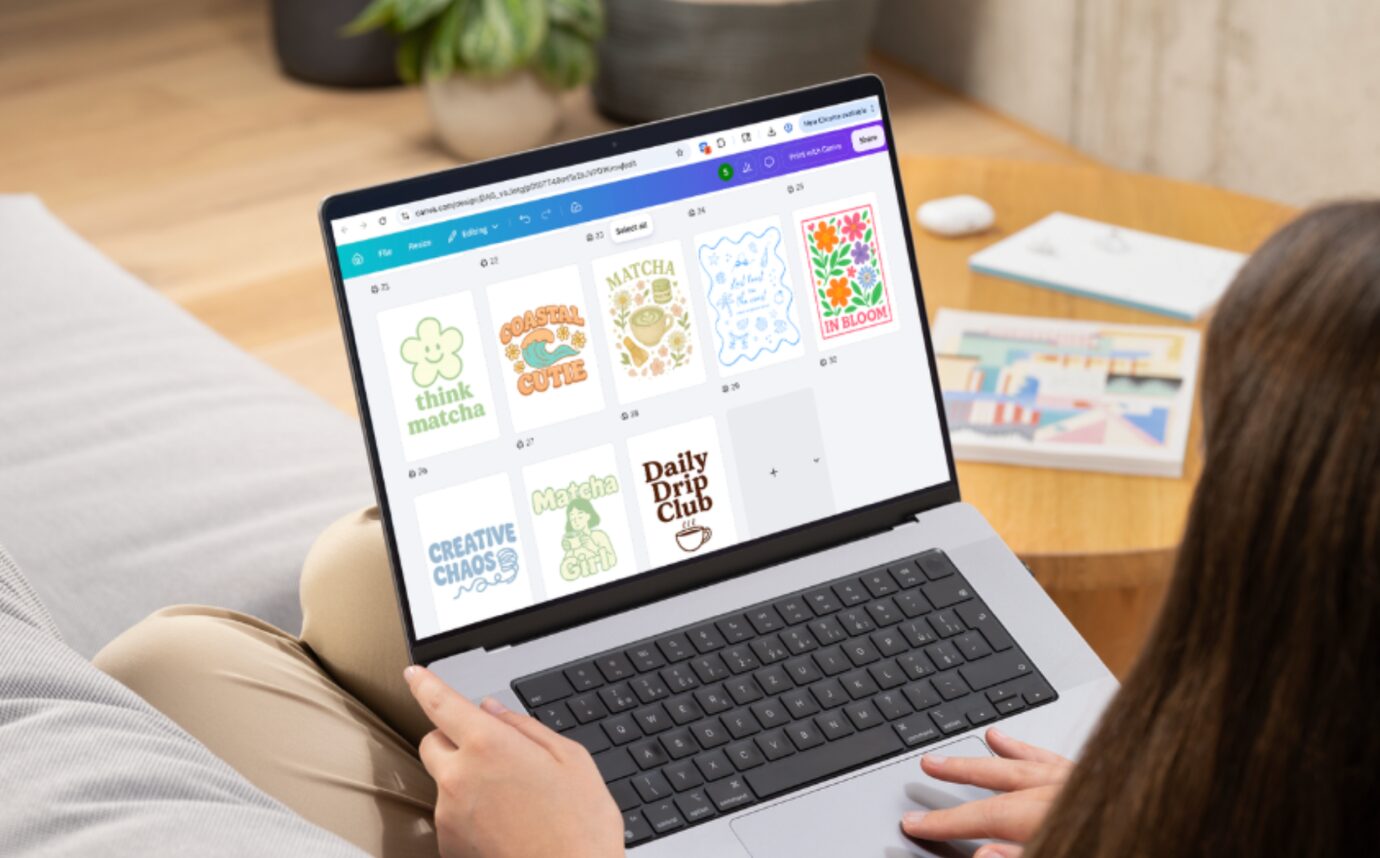
Canva is the tool most people already know. It's free to start, browser-based, and has one of the largest libraries of templates, graphics, and fonts available anywhere. If you've never created a design before, Canva is the lowest possible barrier to entry: drag, drop, customise, export.
Canva's free plan is a good starting point for simple designs, but it has real limitations for print work. The free plan works in RGB only, which can cause colour shifts when printing, especially with bright or saturated shades. It also has restricted access to premium elements, and downloading with a transparent background is more limited.
Canva Pro unlocks the features that matter most for print work: CMYK export (the right colour format for print), a background remover, transparent background downloads, access to 130 million+ premium photos and graphics, and a full brand kit. If you're planning to use Canva regularly for heat transfer design, Pro is worth considering.
One thing to know regardless of plan: some of Canva's elements have restrictions on commercial use. Check the licence on anything you're using if you plan to sell the finished product.
Supacolour tip: Export as PDF Print (not Flatten, which reduces quality). Turn off your background layer before exporting. If you're on Canva Pro, choose CMYK on export. Check that any elements you've used are cleared for commercial use if you're selling the product.
Procreate: for hand-drawn and illustrated designs
One-time purchase on the iPad App Store. iPad and Apple Pencil only.
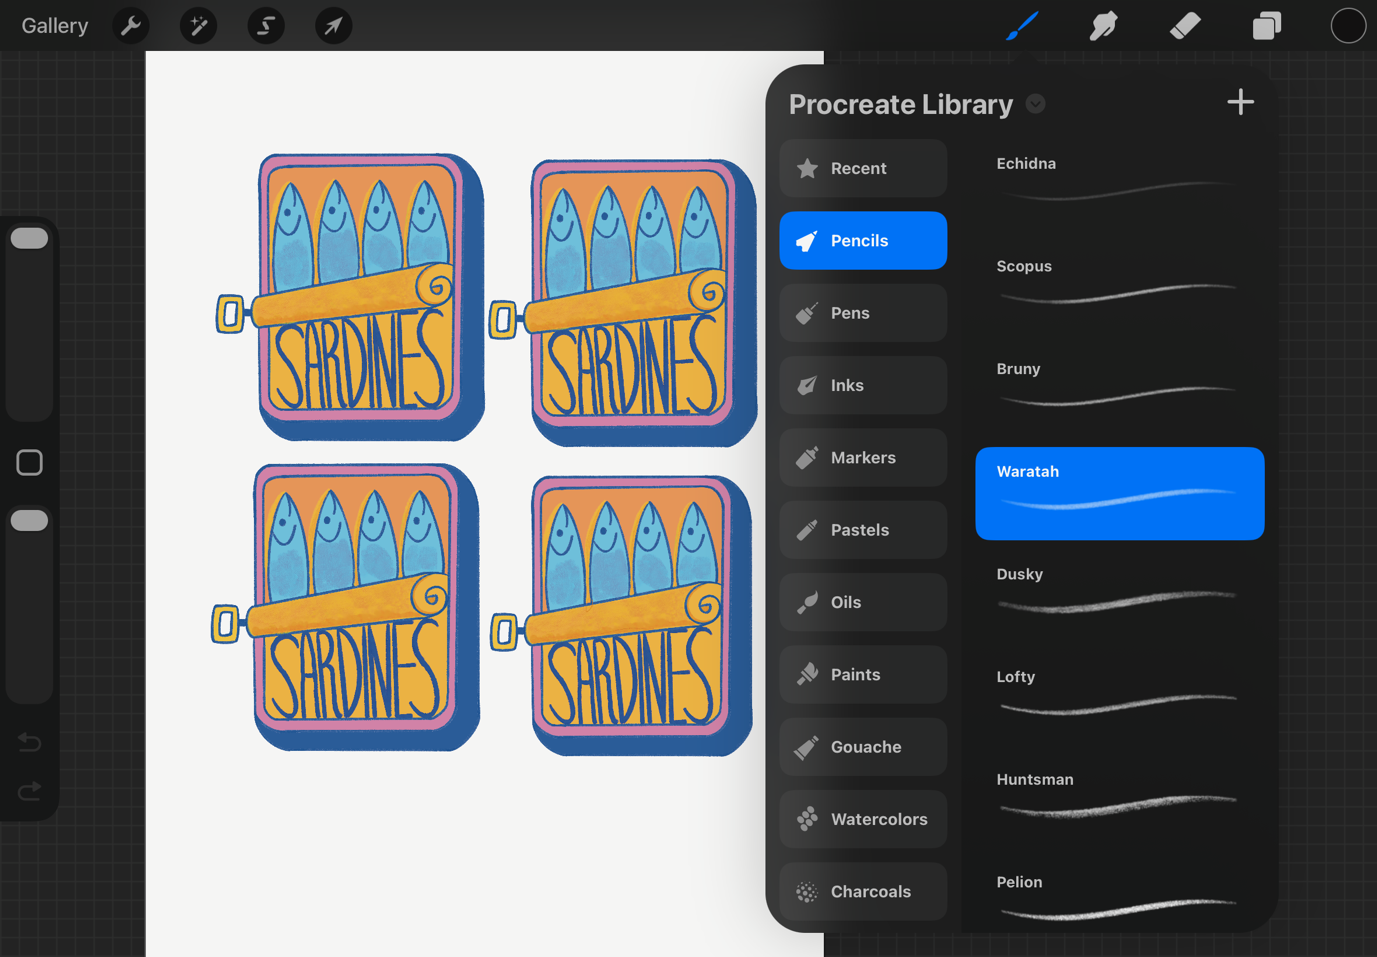
Procreate is for anyone who wants to create hand-drawn artwork. If you want custom illustrations, hand-lettered designs, or artwork that looks completely unique rather than template-based, Procreate is the best tool at its price point. You pay once and it's yours, no subscription.
Drawing with an Apple Pencil in Procreate feels as close to pen and paper as you'll get on a screen. For people who are more comfortable drawing than clicking, it's a natural fit.
The limitations are real. Procreate is iPad and Apple Pencil only, not available on Android, Windows, or desktop computers. It's also different from the other two tools here: rather than working with templates and shapes, you're drawing pixel by pixel. That means you need to set your canvas up correctly before you start, because you can't fix the quality later.
Before starting a new design, go into the canvas settings and set the colour profile to CMYK and the resolution to 300 dots per inch (dpi). DPI is a measure of how much detail is packed into your image: 300dpi is the print standard and what you need for a sharp, crisp result on a garment. Set your canvas to the actual size of the transfer you're ordering, because you can't increase the resolution or size later without losing quality.
If you've added text in Procreate, flatten the text layer before exporting. Unlike Canva or Kittl, Procreate doesn't handle this automatically, so it's worth doing manually to make sure your text looks exactly as intended.
Supacolour tip: Set your canvas to CMYK colour profile and 300dpi at your final print size before you start drawing. This can't be fixed after the fact. Export as PNG with the background layer turned off. Flatten any text layers before exporting.
Which tool is right for you?
| Kittl | Canva | Procreate | |
|---|---|---|---|
| Cost | Free / from USD $15/mo | Free / Pro (see canva.com) | One-time purchase |
| Device | Any browser | Any browser | iPad only |
| Best for | Merch and apparel design | Quick designs from templates | Hand-drawn artwork |
| Exports for Supacolour | PDF or SVG | PDF Print or PNG | PNG |
| CMYK support | Limited | Pro export only | Yes (set at canvas setup) |
| Subscription needed | Optional | Optional | No |
Ready to level up?
Once you're comfortable with the basics and want more control over colour accuracy and file quality, it's worth exploring professional design tools like Adobe Illustrator, Photoshop, and Affinity. These have a steeper learning curve but give you everything a professional decorator needs. Read our guide to professional design software for heat transfers.